- You're making a guide based around
 Water Dragon
 instead of
 Jug of 1,000 Cups
?
"That's the plan!"
- Are you crazy?!
"I was sane...then everything changed when the fire nation attacked."
When you think
 Li Li
Li Li, you think budget support. She heals, but not quite as well as
 Rehgar
,
 Uther
Uther, or
 Kharazim
. She can dish out significant healing with
 Jug of 1,000 Cups
 but it's highly vulnerable to crowd-control, requires good positioning and Li Li can not use any other abilities during the 6 second duration of her heroic. What separates
 Li Li
Li Li from other supports? Her low cooldown
 Healing Brew
, her conditional mobility from
 Fast Feet
, and her
 Water Dragon
 heroic that slows a large AOE area for 70% and deals damage.
My Qualifications:
Rank 1 HL
3.4 K MMR on Hotslogs under halfnhalf
Extensive experience on Li Li, having played her consistently at rank 1 level and in tournaments.
Color coding:
Blue and
Green = Good
Orange = Situational
Red = Bad/avoid
You can look around HeroesFire and find the typical builds for Lili -
Traditional Healer and
Serpent build. I've included both in the guide and these builds will be referenced in the talent section for your convenience. But when you've played Lili as much as I have, you start to notice talents and abilities that are really underplayed and for no good reason. Enter:
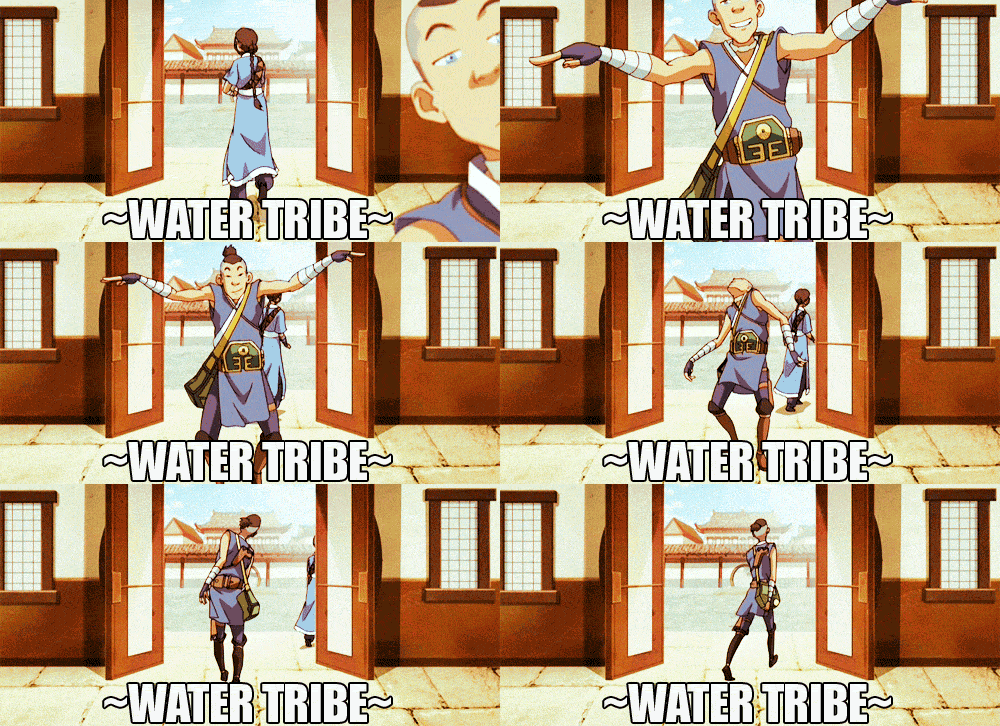
Water Tribe Li Li
When to use this build:
As a solo-support at high-level play, it is strictly better to play Traditional Healer with variations based upon team compositions because you will need to heal your team. It's common courtesy.
If you have two supports, or your team is lacking damage, the Water Bender build will still heal a fair amount (especially mid-game to late game) but
 Li Li
Li Li's healing and damage capacity will increase exponentially with each talent tier.
Laning Strategy
- Aid allies clearing waves.
- Be proactive with your heals. If you hold Q, you will constantly use
 Healing Brew after every cooldown.
- Blind enemies during waves to prevent them from harrassing and clearing.
- Harrass enemy heroes with
 Blinding Wind and then with basic attack when they are blinded.
- Use Cloud Serpant sparingly to conserve mana but don't be afraid to use it to harrass a melee opponent.
- Gather as many regeneration globes as possible to help you continue this strategy or if you've taken
 Conjurer's Pursuit
General tips:
- Always be soaking EXP unless ganking or taking an objective.
- Fight on the same tier level (or above) and try to lead opponent in experience.
- Rotate to other lanes whenever necessary for early ganks or more experience.
- Take mercenaries when you have room in your lane (i.e. the wave is too far into enemy territory).
- Be careful of enemy heroes trying to gank you. Don't over-extend in your lane.
- Pay attention to Map Objectives, they often take precedence over your lane.
Early Game (1-7)
Tier 1 - Level 1
LANING: Lane with a teammate and accompany them if they roam from lane to lane. Make sure all three lanes have at least one teammate so that you don't lose exp (you might be forced to soak a lane alone but communicate that you'd rather accompany a teammate).
Focus on winning your lane and getting globes.
Take a team-mate to capture a mercenary at roughly 2 minutes (depending on map).
Tier 2 - Level 4
Most map objectives start when you are around level 4. Help your team win objectives (See Map Objectives above)
 Mass Vortex
 will benefit you most here with the contested objectives and the teamfights that are likely to ensue.
Tier 3 - Level 7
 Shake It Off
 will allow you to play a little more aggressively and helps your survivability. You should be very cautious when this talent is down however.
Soak as much experience as possible so that you're team is first to heroic talents.
Mid Game (10-13)
Tier 4 - Level 10
If you are level 10 and your opponents are not very close, initiate a fight immediately to capitalize on your heroic abilities.
 Water Dragon
 will allow you to capitalize on the level advantage by initiating a gank. Vice versa, it could help you disengage from a fight that isn't going your way.
Tier 5 - Level 13
This tier is usually when teams start to play aggressive and stop laning altogether.
 Surging Winds
 is almost perfect to capitalize on teamfights, increasing your damage and healing by giving you ability power. This is where Li Li can start playing aggressively, having the right defensive and offensive traits.
Late Game (16-20)
Tier 6 - Level 16
 Two For One
 will allow you to really sustain your team by essentially doubling your healing capacity. At this point, a full team roam can be effective to capitalize on long death timers. Roaming will also help capture objectives, catch enemies out of possible, and help take boss camps quickly. It will also decrease the likelihood of getting ganked yourself. Laning can be prioritized if you indeed to reach level 20 before the opposing team and have a decisive team-fight.
Tier 7 - Level 20
Once you have
 Kung Fu Hustle
, you should be playing a bit more aggresively with your team. Don't be afraid to soak some damage to lower your cooldowns but don't overextend too far. You should position just behind your warriors. Spam your abilities - constantly heal your allies, blind your enemies and keep them slowed with
 Water Dragon
Battlefield of Eternity
Lane with allies. Defend your Angel/Demon Immortal first and focus on Heroes. Let your assassin(s) do the damage to the Immortal. Your job is to keep everyone alive and sustain the team. Try to capture bruiser camps just before immortals to divert your enemies attention during the objective.
Battlefield of Eternity is a
contesting-oriented map.
Blackheart's Bay
Go top with team for watchtower.
First treasure chest is at 50 seconds but clear top quickly before it. Use your heals to keep your team in the fight but use your blind to disrupt enemy attacks on the chest. Cloud serpant can allow you to clear chests much faster by essentially allowing you to attack twice.
Maintain control of Pirate Captain area, and keep an eye on both team's coin collection.
Help team-mates with a surplus of coins, focus enemy heroes with coins.
Blackheart's Bay is a
contesting-oriented map
Cursed Hollow
Utilize your mobility, and sustainability to contest the curse.
Stay grouped with your team for the objectives.
- Don't be afraid to give up a curse if your team is too far away or if several teammates are dead.
Curses spawn in a set of three (in close intervals). Their position is at one of six locations randomly chosen but there will never be three curses in a row on the same side of the map.
Be very aware of Boss camps, when they spawn and if the enemy is doing theirs or invading yours.
This is a
push-oriented map where huge level advantages can be gained during the Curse phase.
Dragon Shire
Take a side lane but you can also lane middle effectively with your sustain. Never solo.
Dragon Knight is prioritized over anything. Take it if its open.
Save your heroic to capture moon or sun shrines.
This is a
contesting-oriented map.
Garden of Terror
Your sustainability is amazing on this map, allowing you to fight for the Giant Terrors.
Prioritize small plant camps over larger ones. Your whole team should do either the top or bottom terror rather than splitting up.
If you are in the Terror, roam from lane to lane planting seeds and destroying structures unless you can push a fort/core. This is a
push-oriented map.
Haunted Mines
Lane with the majority of your team.
Time your capture of your side's Siege Camp so they reach the enemy golem as its about to reach the gate.
Middle mercenary camp can be taken if you lost the mines.
This is a
push-oriented map, contesting is limited to the Mines themselves.
Infernal Shrines
First shrine spawns: 1:45 and next shrines starts 1:45 after the last Punisher is killed.
Shrines locations are random.
Win the teamfight or zone the enemy team out before you start the objective.
When defending a Punisher, bait it over the gate so that your fort can quickly dispatch it. Be wary of stuns.
This map has the tendency to snowball quickly due to the strength of the Infernal Titans. This is heavily a
contesting-oriented because of the Shrines' importance and frequency.
Sky Temple
First Temples are at top and middle and appear at 1:30.
next Temples start 2 minutes after the last temple ends.
Second temple is bottom, take bruiser camp before it starts to pressure top while bottom shrine is contested.
Zone the enemy out of the Temples.
Be careful with boss since both sides have easy access to it and lots of bushes to gank.
The Temple zones and boss camp are
contesting-oriented.
Tomb of the Spider Queen
Since the lanes are so close together you can maintain a 4-man gank squad that roams top and middle lane while an ally soaks bottom lane.
Turn in the Spider Gems frequently but be aware that ganks are bound to happen at the turn-in zone.
Be wary of enemy ganks and ambushes.
This is a
push-oriented map, contesting is limited.
Towers of Doom
Tower spawning is randomly between 1:20 and 1:50. First one is bottom.
The camps are incredibly important on this map since they do a lot of siege damage and even do direct damage to the core if the enemy keep has been taken.
This is a
constesting-oriented map with pushes made to capture keeps so that shrines and pumpkin camps can deal more damage to core.
![]()

 Other Traits
 Other Traits
 Other Traits
 Other Traits
 Other Traits
 Other Traits
 Other Traits

Quick Comment (1) View Comments
You need to log in before commenting.